 ...is to grow them yourself! Andy and I love to garden, so we always have a decent amount of produce growing in our backyard. This year, I'm once again getting back to the basics: seeds! I haven't grown my plants from seed in a loooong time, mainly because it's just easier to buy the pre-sprouted little plants at the garden center. Things are different right now because I'm staying home with Baby C and we're trying to economize. At this point, saving money is worth a little extra time. Pre-sprouted little plants cost a heck of a lot more than a few packets of seeds, and it really doesn't take much time/effort to grow plants from seeds. Plus, it's fun to watch them grow! The method I describe below might not follow all the traditional rules of gardening, but it's what has worked for me in the past. Please feel free to deviate a little, or even completely, from what I've done.
GROWING PLANTS FROM SEED
"Ingredients"
Seeds
Seed Starter Soil Mix
Small pots
Trays to set pots in
Plastic wrap
Squirt bottle/mister
1. Place small pots into trays to contain water drainage and stray soil. I used cookie sheets lined with wax paper, but I wouldn't recommend this unless you have some spare cookie sheets to use for cookies while your seeds germinate. :)
2. Fill each small pot with seed starter mix up to 1/4 inch from the top. Some people have success with regular potting soil, but I prefer the seed starter.
3. SOAK the seed starter until it will hold no more water. I filled each pot up to the top with water, then let it drain out the bottom.
4. Read your seed packets to find out how many seeds you should place in each pot, and whether you should scatter them or place them carefully. Place seeds on starter mix.
5. Sprinkle some dry starter mix on top of the seeds. Again, read your seed packets to figure out how much you'll need in order to plant your seeds at the proper depth.
6. Use a squirt bottle to mist the starter mix until moist.
7. Place plastic wrap over pots to retain moisture. I also like to label each tray with a "map" to remind me what I planted where.
8. Place pots in the sunniest location in your house. In our house, this location is on the bed in the guest room. I protected the bed with a cheap Dollar Store table cloth, and I protected the entire setup from our cat with a baby gate.
9. Check the seeds daily, and mist when needed. You will begin to notice condensation (fog) on the plastic wrap. That's a good thing! It means that you've created a little greenhouse. Depending on the types of seeds you plant, you could see sprouts in as little as 3 days! They should be ready to transplant to your garden in 4-6 weeks.
 |
| Place small pots into trays to contain water drainage and stray soil. I used cookie sheets lined with wax paper, but I wouldn't recommend this unless you have some spare cookie sheets to use while your seeds germinate. :) |
 |
| Fill each small pot with seed starter mix up to 1/4 inch from the top. Some people have success with regular potting soil, but I prefer the seed starter. |
 |
| SOAK the seed starter until it will hold no more water. I filled each pot up to the top with water, then let it drain out the bottom. |
 |
| Read your seed packets to find out how many seeds you should place in each pot, and whether you should scatter them or place them carefully. P.S. Look for sales when purchasing your seeds. These did NOT cost $6.79. We nabbed them for 50% off! |
 |
| Place seeds on starter mix. |
 |
| Sprinkle some dry starter mix on top of the seeds. Again, read your seed packets to figure out how much you'll need in order to plant your seeds at the proper depth. Use a squirt bottle to mist the starter mix until moist. |
 |
| Place plastic wrap over pots to retain moisture. I also like to label each tray with a "map" to remind me what I planted where. |
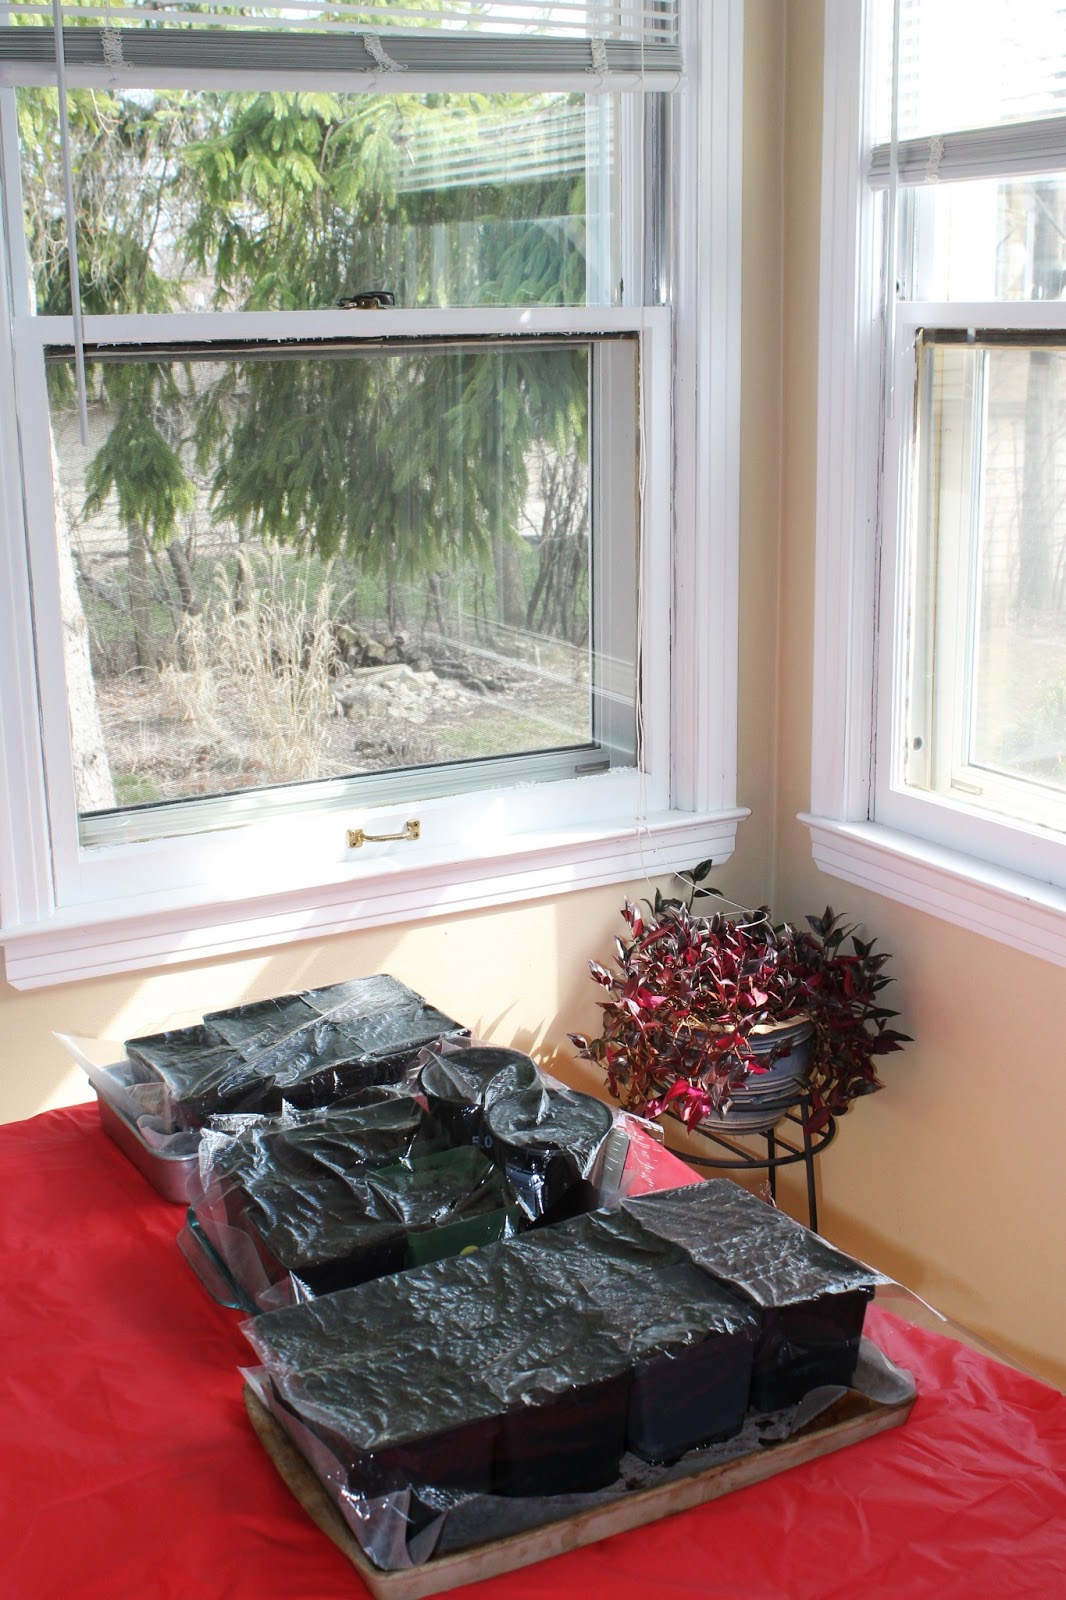 |
| Place pots in the sunniest location in your house. In our house, this location is the bed in the guest room. I protected the bed with a cheap Dollar Store tablecloth, and I protected the entire setup from our cat with a baby gate. |
 |
| Check the seeds daily, and mist when needed. Note the condensation (fog) on the plastic wrap in this picture. That's a good thing! It means that I've created a little greenhouse. Depending on the types of seeds you plant, you could see sprouts in as little as 3 days! |
No comments:
Post a Comment